|
|
Post by mj on Feb 28, 2011 10:14:11 GMT -5
Very nice work, Dan. Just to add two bits - I could not tell if you put torque braces across the back. They help a lot. (I have a 2165cc engine). I've got one on each side of the transmission to the shock towers, and once I raise the rear to take out the sag, I'll have another connecting to the top of each shock tower.
|
|
|
|
Post by Dan MacMillan on Feb 28, 2011 18:21:45 GMT -5
Thanks for the tip, that is where I started. They are more visible in this picture. 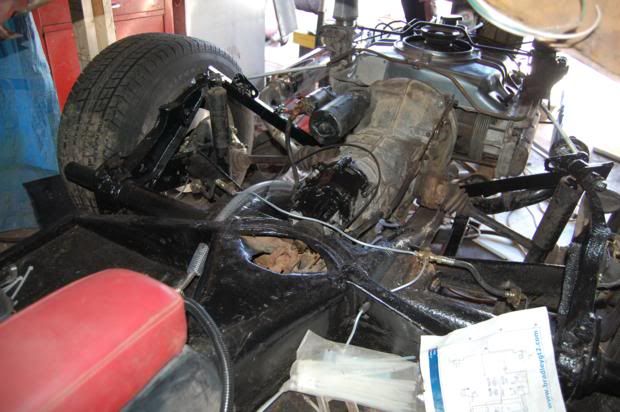 I have the rear triangulated so much it is like a geodesic dome. The top spreader bar gets installed once I lower the body. That way I can make use of it to support the rear "seat" area. |
|
|
|
Post by Dan MacMillan on Mar 17, 2011 18:19:11 GMT -5
Has it been that long since my last update? Sorry.. Not a whole lot to report. I moulded my rear speaker enclosures and glassed them in. 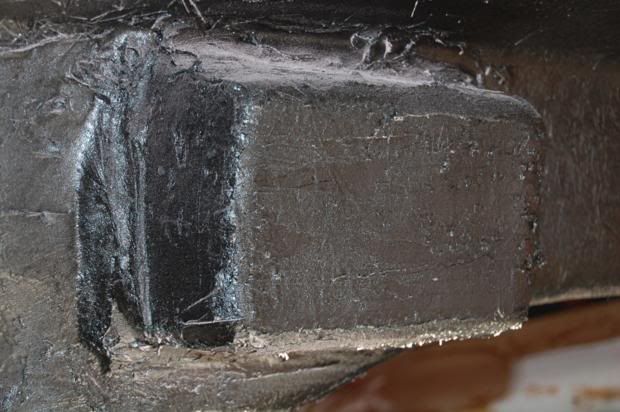 I changed the fresh air vents to those from a 93 Toyota Landcruiser. The Toyota vents from the right side of the dash are perfect for a GT2. Just have to paint the screws. 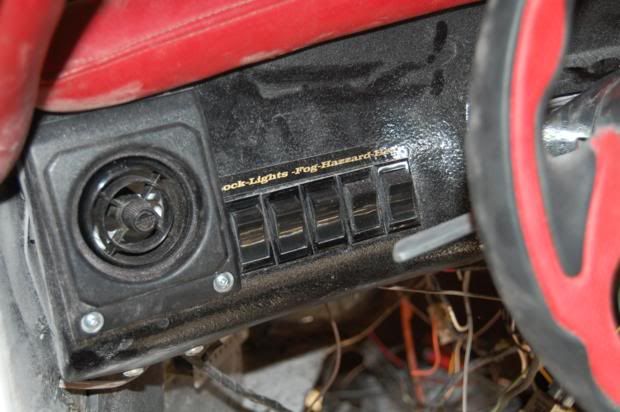 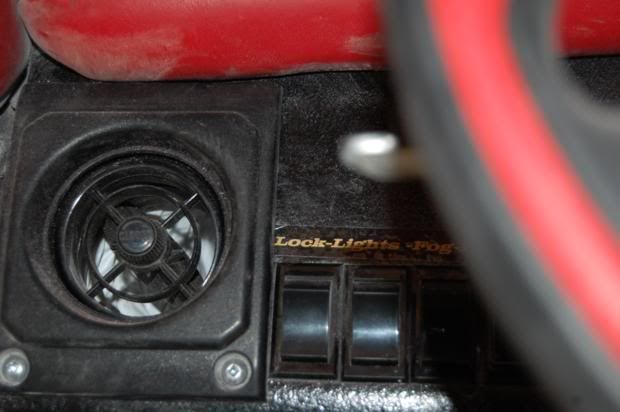 I plumbed them in with flexible tubing. 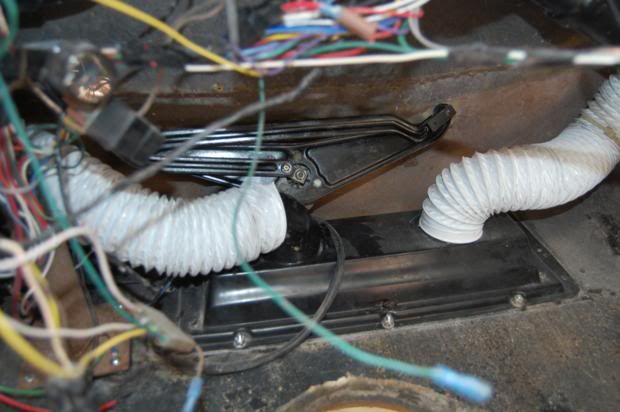 I installed the defroster tubes from the kickpanels to the bottom of the dash. Instead of using flex tubing for this I used abs pipe and fittings. I may go back in and do the same for the fresh air. 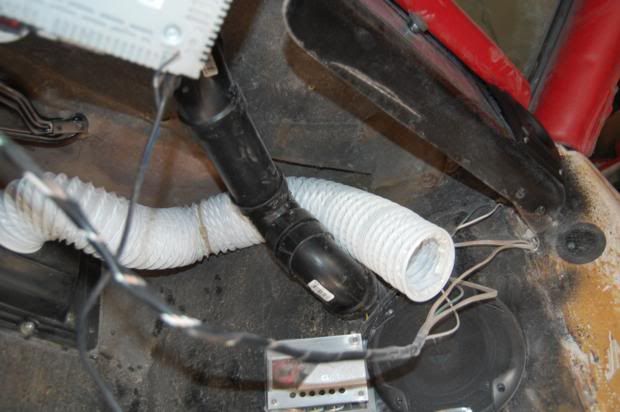 Next came the wiper assy. I rebuilt it a while back so it was a straight forward install. As I was missing the arms, I got a set from a Jetta. The mounting holes were too big so I transferred the mounting ends from a 77 VW Bus onto them. Then a quick trip to the sandblaster, a coat of primer and paint. These arms are different lengths. The short one with a 17" blade on the left, the long one with a 16" on the right. Excellent wiper coverage. 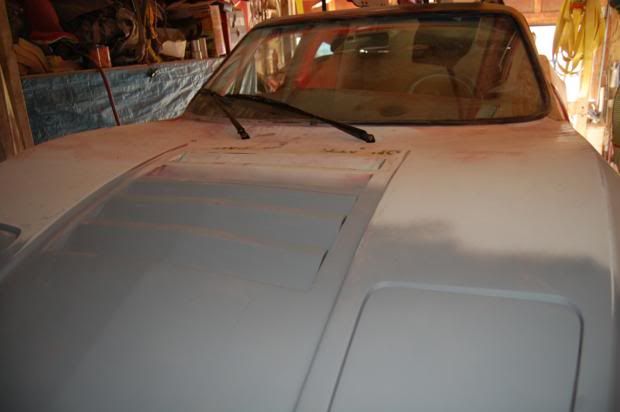 I finished up the front end lighting and wired my own circuit design for the hazard lights. Still more wiring to clean up. 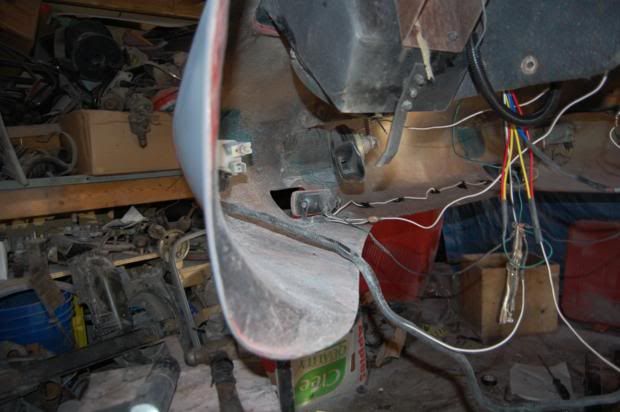 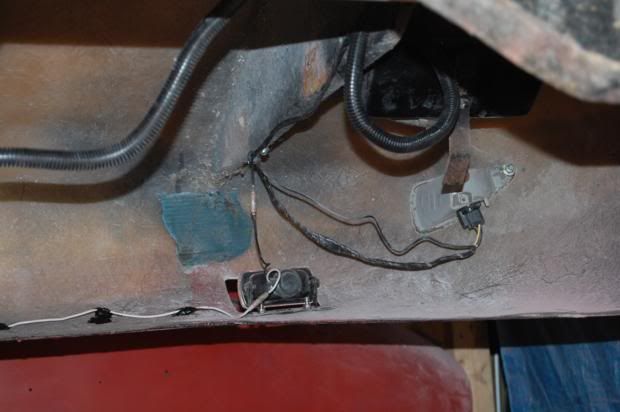 More switches were added to the right of the steering column for the fresh air blower. 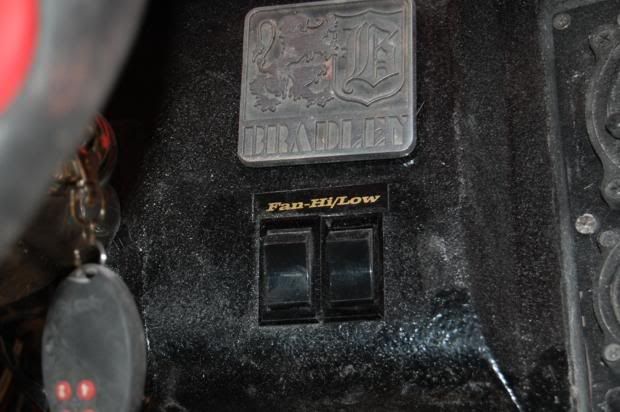 I repaired the radio screw up in my console and mounted an oil temp and voltage gauge just above the shifter. Also between the gauges I have 2 red LED's {like the hi beam indicator}, one for oil pressure and one for the engine blower. 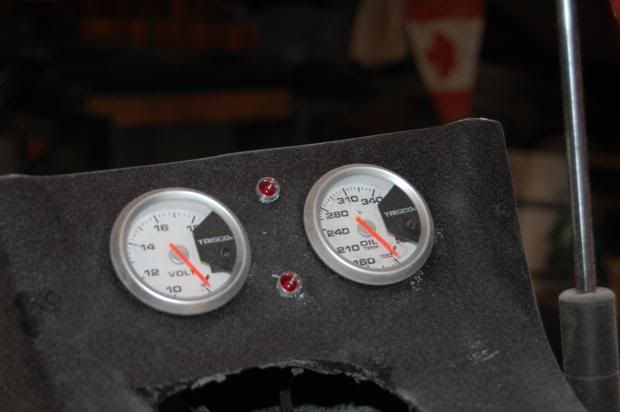 Started polishing the carpet trim. 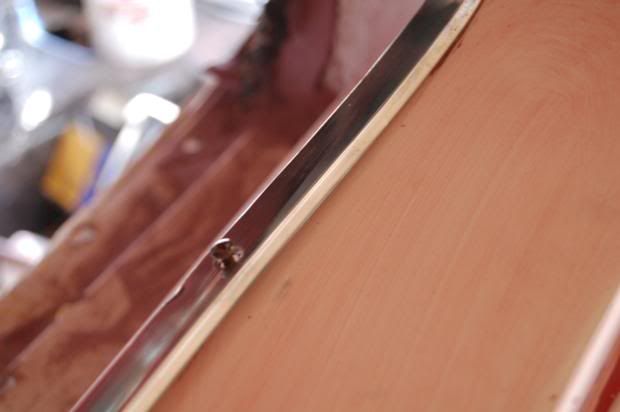 Lastly I got new carpeting as I did not like my first choice. And more of that awful red tremclad is sanded off. 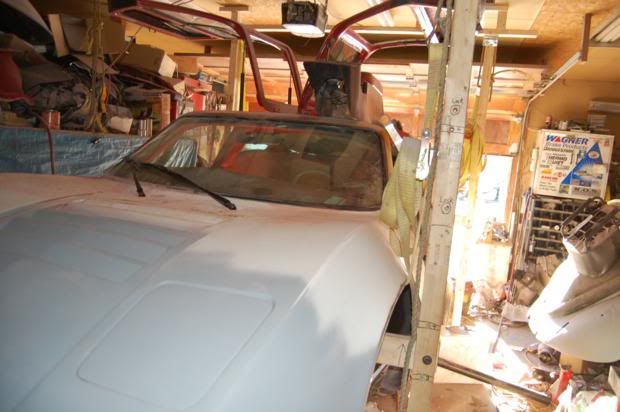 |
|
|
|
Post by Dan MacMillan on Mar 24, 2011 19:04:54 GMT -5
Just posted some new pics to the previous post
|
|
|
|
Post by swatcop on Apr 3, 2011 1:59:56 GMT -5
Looking really good!!!
Just one question, what vehicle did you get those front marker lights out of?
|
|
|
|
Post by Dan MacMillan on Apr 3, 2011 2:30:23 GMT -5
Looking really good!!! Just one question, what vehicle did you get those front marker lights out of? 1995 - 1999 Chevy Cavalier Parking / Signal Light Excluding Z24, park & signal combination |
|
|
|
Post by Dan MacMillan on Apr 3, 2011 2:33:16 GMT -5
The body is now back on the chassis. Picked up my door windows and tinted the rear glass, Tomorrow I will be securing the body and starting to hook things up.
|
|
|
|
Post by Dan MacMillan on Apr 3, 2011 21:22:03 GMT -5
Not that much today, I secured the body. assembled my fuel pump/filter/shutoff assy, and decided how to go about installing the fuel tank. I am using a 72 bus tank located inside the back seat. Cut out the rear seat, clearanced the tank for the rear support braces and the high point on the front of the tranny. I also notched the tank to allow for starter clearance.
|
|
|
|
Post by Dan MacMillan on Apr 10, 2011 21:48:37 GMT -5
More work on the fuel tank. Welded in the patch plate for the starter clearance. Sealed the original filler, Installed a new filler and separate vent. Welded all pipes, sealed with solder then glassed the tank. Added a support brace under the rear edge of the rear seat area to stop the body from sagging with the additional fuel weight on the rear seat. I drilled my rear top for the filler and vent. Clearancing the inside for the filler hose was interesting to say the least. Just have to run the vent hose, re-seal the inner body where the hoses run and make the cover for the tank.
My next task was to install the center console. This was a royal pain. Due to the fact that I installed 2 gauges below the dash, my choice of shifters and I feel that the dash has drooped due to no support for years, I had to use a jack to push the console forward an inch. This greatly tightened everything up and lifted the center of the dash about 1/2 inch. Before doing this I thought I might need some steel reinforcing on the upper steering column. Now there is no flex in the upper steering column.
It is looking like I will be doing a pan drop. Not enough room for size 12 shoes under the dash and headroom is tight.
Pics tomorrow.
|
|
|
|
Post by Dan MacMillan on Apr 11, 2011 19:40:09 GMT -5
Fuel filler and vent 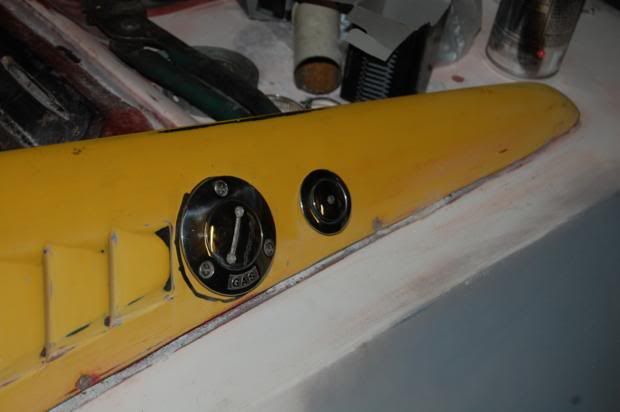 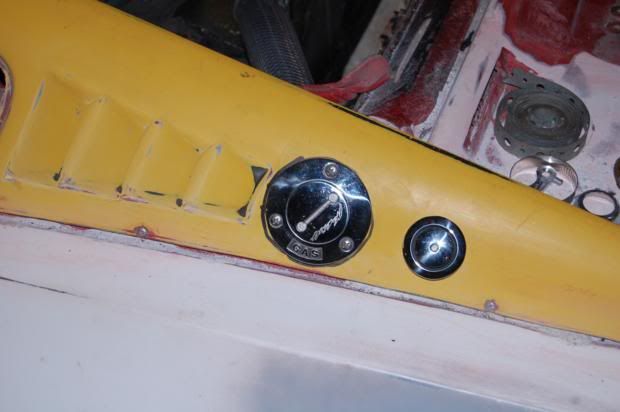 Modified 72 bus tank. 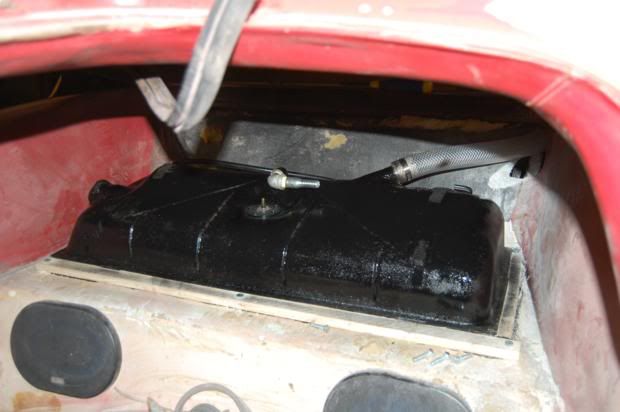 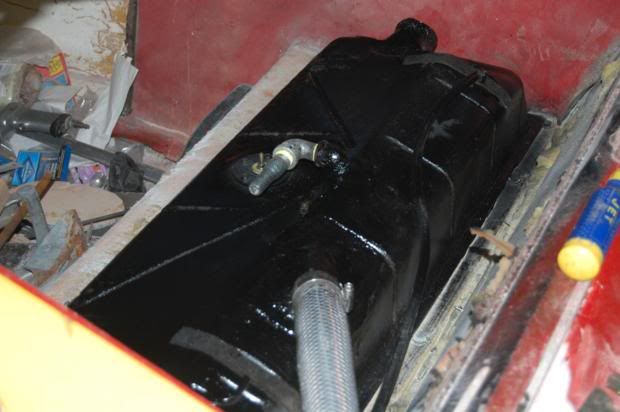 The console installed, now to make a boot for the shifter. Gauges in console are a voltmeter and oil temp. The 2 red led's between them are for oil pressure {combined with the oil pressure gauge} and a sensor that monitors the enging cooling blower. 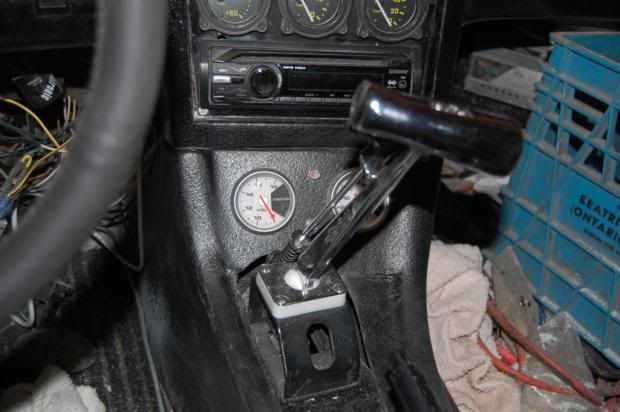 Beginnings of rear seat brace. It cannot be seen but the tank has a 4x3x6 inch notch in the bottom of it for starter clearance. 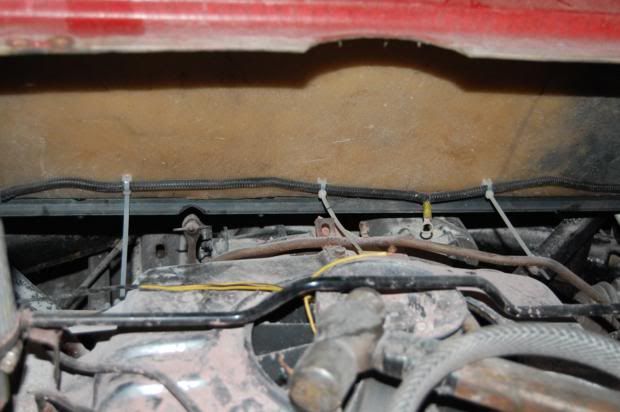 New addition to the tool box. 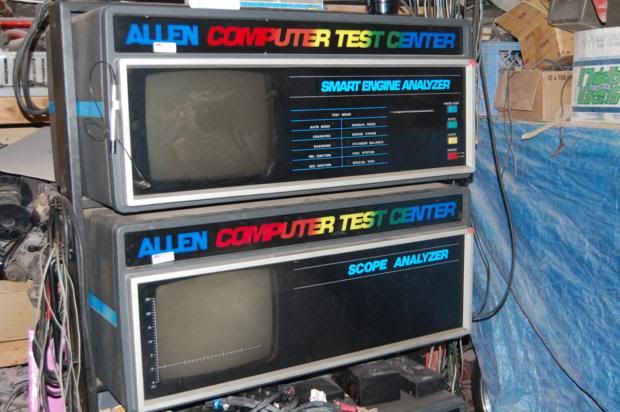 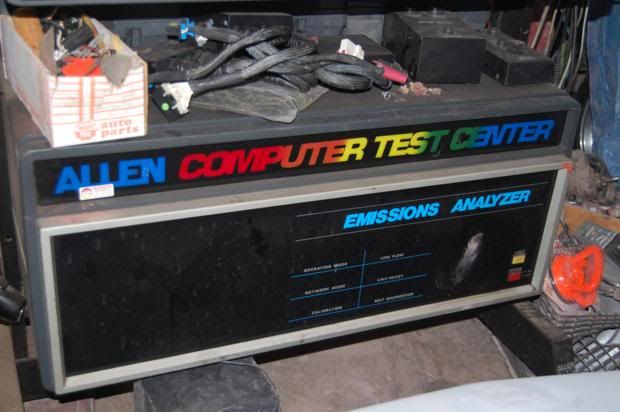 |
|
|
|
Post by Dan MacMillan on Apr 16, 2011 9:53:15 GMT -5
Started a 2.5" pan section drop to lower the seats. The steel supply store is closed today so that is on hold till Wed. May continue with the exhaust or tank cover...we will see.
|
|
|
|
Post by thehag71 on Apr 16, 2011 14:04:45 GMT -5
Great work. As soon as I get my garage organized I hope to make some progress on mine. The garage is about 65% done. Nice addition to the toolbox, fantastic troubleshooting tool. My old landlord had his own garage and used a similiar setup, but his was a Sun brand. He could troubleshoot just about anything engine related with that thing.
|
|
|
|
Post by Dan MacMillan on Apr 16, 2011 18:41:52 GMT -5
Thanks...
Well it took a while but the exhaust is back in. Had to fight with the inner manifold to pipe bolts as there is very little room to get in there. Had to use allen socket bolts due to pipe clearance issues, 1/12 turn at a time alternating access from the top then the bottom. Then some tweaking of the mufflers to line up with the outlet holes in the body.
I got some stainless "tailpipes", to replace my original chrome ones, that will pass through the body.
Found an old freezer lid that will become the fuel tank cover.
Pics to follow.
|
|
|
|
Post by Dan MacMillan on Apr 17, 2011 16:48:36 GMT -5
Instead of using the lid, I made a fiberglass lid using the underside of the freezer lid for a mold. The plastic part that finishes off the lid. Looks sharp. I have a few imperfections to repair and once they are done I will post pics.
|
|
|
|
Post by Dan MacMillan on Apr 23, 2011 22:55:58 GMT -5
|
|
|
|
Post by Dan MacMillan on May 12, 2011 18:28:21 GMT -5
This past couple of days I have been solving problems and rerouting and cleaning up my interior wiring .
I installed a second u-joint on the column with a collapsable lower shaft and a lower column bushing to solve an alignment issue.
I was also fighting with the seats. I finished the 2.5" dropped seat pocket on the drivers side and had to solid mount my Nissan 240 seat. The top of the seat bottom is pretty much level with the rest of the floor. I am 6'2" 300lbs and just fit. So my question is. Will the dash and console flex enough if I put a 1" lift at the rear body mount location but leave the front mounts in the stock location? {console in stock location}
|
|
|
|
Post by Dan MacMillan on May 28, 2011 5:39:51 GMT -5
I decided that a body lift is out of the question. Too much to rearrange the exhaust and the rear valence. This week I managed to install the fuel pump, filter and hosing. I converted a GM HEI ign mod with an E core coil to work when triggered by points. This assembly will fire a spark across a 1.25 inch air gap. Thus I can increase my plug gap to .045 for better ign and burn. It also reduces the amperage that the points see to less than 200ma. This greatly increases the life of the points from a couple of years to decades. No more burnt points. The HEI module has built in computer controlled dwell. Something that is not optimized when points ign are used. I Installed the lower rear valence. {prev removed to install the engine and subframe} It is hinged below the rear bumper. More sanding followed , Now about 80% sanded to the gel coat. I also moulded the top section so the gas fill and vent are smoothe to the body as well as glassing the driver's side top to the body. More electrical followed with the Ford voltage regulator to GM alt. Many hours were spent wading through the local auto wreckers looking for door locks and a possible wing. Most wreckers here crush anything over 10 years old. One however has cars and trucks dating back to the 40's and 50's. The problem is the land it is on is very soft and waterlogged at this time of year. It is like walking on jello in most places that is until you break through and you are knee deep in water. Got a guide coat of primer on about 25% of the body.
More to come as I am now off for 4 days, pics will be included.
Anyone interested in the ign syst mod? It will work on ANY points operated system. I may even find a way to convert the dist to run a magnetic pickup making it a true electronic ign with no moving parts.
|
|
|
|
Post by Dan MacMillan on Jun 11, 2011 13:05:11 GMT -5
Sorry camera took a dump. Did a Rush tribute show and had issues retrieving the images.  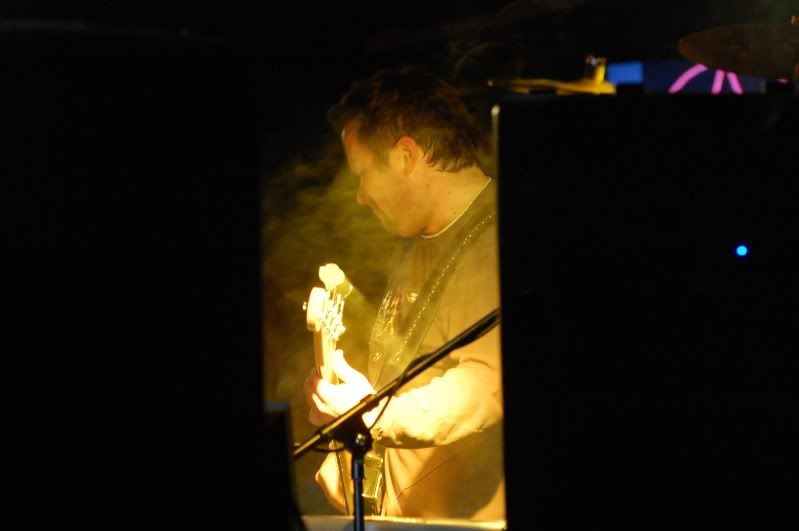 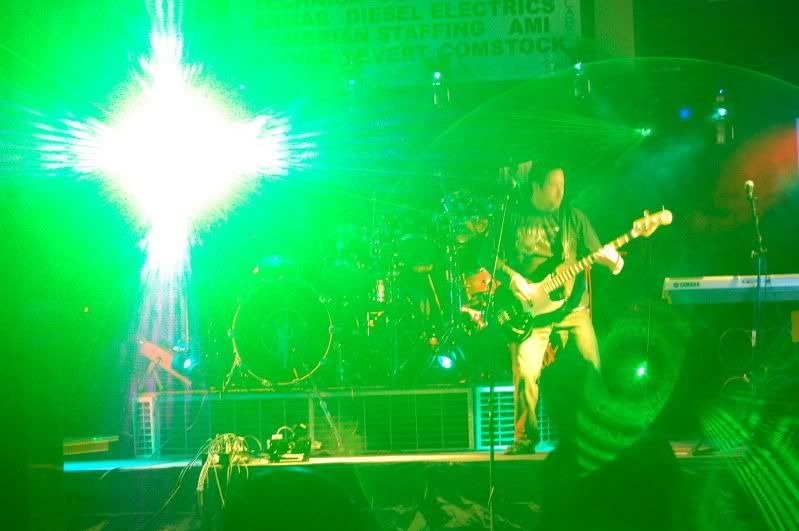 I finished dropping the pass side floor, modified the seat and got it mounted. Finished the front wheel spacers, repaired the engine opening to cover lip where the PO cut out too much for air filter clearance. Lots more sanding,the intricate areas around doors windows etc. The hood is now back on with all hardware nicely cleaned. All non stainless parts painted. I tinted the remainder of my windows and installed the glass in the driver's door. I also installed the driver's side rear glass. I made a aluminum moulding for the inside so that I would have a bonding surface to attach the glass too. There is no rubber around the glass. It looks more modern as the edge of the glass is visible. I managed to locate 2 door release locks {AMC Pacer/Gremlin} and installed them. No need to modify the locks as when in the lock position they miss the latches. More work followed on the rear end. I finished up the exhaust outlets and added the backup lights. That was a lot of work. Building the 2 assemblies out of stainless pipe with internal mounting brackets so they are identical and fit both sides the same. They ended up looking like 4 outlets but two of them are the back up lights. I also finished up the lower center valence {part removed on electric GT2s}. It now opens for the clearance needed for engine removal. Got a lot of the front end wiring finished and tidied up. New bigger tires are mounted on my front rims ready to go on. I installed the speedo cable. The cable from a bus gives you a lot more freedom to work with. I am sure there is somethings I missed as I got a lot done. My camera is back in action so I promise to post some updates soon. |
|
|
|
Post by Dan MacMillan on Jun 19, 2011 18:53:18 GMT -5
Got a lot done this week. Coated the underside of the floor with gravel guard, made the second front wheel spacer and tapped the rotors to secure the spacers. Got 2 new tires on the front that are larger and fill out the wheel wells perfectly. Reset the rear torsion bars to compensate for the now higher front end and give me more suspension travel. Flipped the rear tires so blackwall is out. Finished mounting the fuel filler and vent, Pressure tested the fuel tank. All was good so in went $10 of gas. This barely reads on the gauge. Completely wired up the back of the car. Separate relays are used for the ignition, fuel pump, starter and backup light circuits. Wired in the remaining gauges and idiot lights.
Here is a treat for you...
Timing is very close, still have to put the light on it and hook it up to my scope and gas analyser. This is the first time running since I installed all of the reverse rotation parts. Due to the cam I used, it has a lumpy idle. It responds great to throttle and sounds like a Harley on steroids.
The sound on my iphone does not do it justice.
|
|
|
|
Post by Dan MacMillan on Jun 28, 2011 21:26:32 GMT -5
Spent the last few days making and installing the stainless steel engine to body panels. Just have to add the foam seal between the panels and engine. Straightened up the wiring some more and relocated the fuel supply line. Made a fuel line temp isolator as I had to run it under the engine close to the cooling air outlet and exh manifolds. Sanded more red paint off.    |
|
|
|
Post by Dan MacMillan on Jul 6, 2011 19:29:37 GMT -5
Getting close to my deadline, completed, appraised, mech fitness {safety certificate} insured and driving by July 30 11. I work the next 6 days then on holidays till Aug 4. I finally found the solution for the roof panels. I found 11, 1/4 turn latches at Princess Auto for 49 cents each. 8 for the top, 3 spares. They come apart easily, so I will take them apart and fill the slot so they cannot be removed from outside.    I finally got around to making the second panel. Sprayed the areas around the panel opening and around the rear window.   I also finished glassing the roof to the body.   |
|
|
|
Post by Dan MacMillan on Jul 15, 2011 16:52:49 GMT -5
|
|
|
|
Post by Dan MacMillan on Jul 19, 2011 20:38:15 GMT -5
Spent the last few days finishing up the doors and glass, first full shot of primer and sanding to reveal any spots that needed attention, did the front hood latches. Tomorrow I will be shooting the final coat of epoxy primer followed by a final sanding then PAINT. If all goes according to plan It will be done by 11pm. Then camping for 4 days. Then carpet.
|
|
|
|
Post by Dan MacMillan on Jul 20, 2011 20:40:19 GMT -5
Paint is done.
1 coat of primer
2 coats base black
2 coats ghost red pearl
2 coats clear
Tomorrow I will see if they shipped me red or not. I looks purply in the fluorescent haze in the garage.
|
|
|
|
Post by big bob on Jul 24, 2011 22:20:57 GMT -5
looking good dan,
tell me a little about your paint "booth". what's your setup. i want to do it, but i'm a complete chicken to prime and paint. jsptown has it down..... big bob
|
|
|
|
Post by Dan MacMillan on Jul 24, 2011 22:35:32 GMT -5
My "booth" is my garage exactly as seen in the pics above. I cleaned up around the car, dusted out the garage a bit, wet down the floor and sprayed it. As I live in a residential area and my lot is only 52' x 150' long I do not run fans to ventilate the garage. The hardest part is seeing the car after a few coats.
Pics will be posted tomorrow when I take it outside.
Base/clear is a piece of cake to spray compared to single stage.
|
|
|
|
Post by Dan MacMillan on Jul 25, 2011 18:56:42 GMT -5
  Just the inside to finish. |
|
|
|
Post by smyrnaguy on Jul 25, 2011 19:34:36 GMT -5
Sweeeeeet! I'm waiting till the temp gets below 90 to shoot mine. Looks great Dan.
|
|
|
|
Post by Dan MacMillan on Jul 31, 2011 17:28:37 GMT -5
A recap. Initial start date Oct 11 2010 Remember the basket case that followed me home. 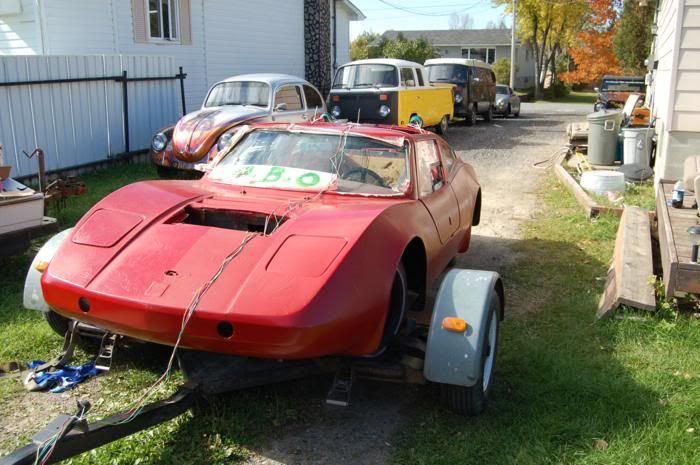 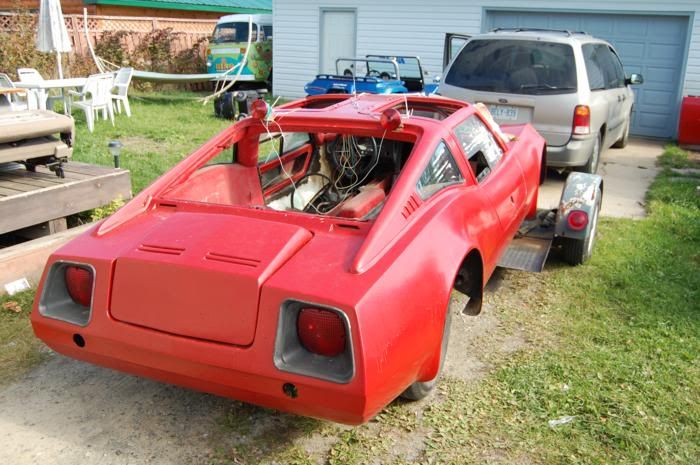 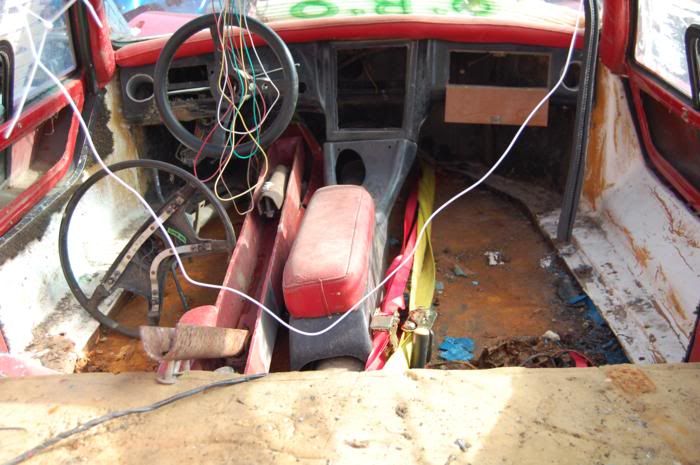 If you have followed my build you know my deadline was July 31 2011, today. Well I am happy to say that I met my deadline. I attended our 20th Annual Sudbury Classic Cruisers Car Show. There was over 200 cars with one from as far away as Australia. Although I did not win the plaque for best import, I did win a screwdriver set and a GPS. Much more useful than a plaque. It has very sensitive steering at high speed. I am down to 15 psi in the front tires. I am pretty sure the cause is my front wheel spacers. Tomorrow I will remove them and try it out. For those still working on their cars, keep at it. Finish the project. It is worth it. Here is a sample from the driver's seat. Welcome to Northern Ontario, Canada. The igloos are all melted LOL. You may notice that the tach and the ammeter are not working. This is because the 4 cyl tach is inaccurate on a 6 cyl engine and I chose to wire my charging system differently. Pics from the car show and more video to follow. |
|
|
|
Post by jdhicboy on Jul 31, 2011 21:42:05 GMT -5
Wow she looks great Dan! neat idea for the gas tank. Thanks for all the pics and info. Your car is a great motivator to get mine done.
|
|